Uncategorized
Installing Your Skybass Retractable Awning
Jan
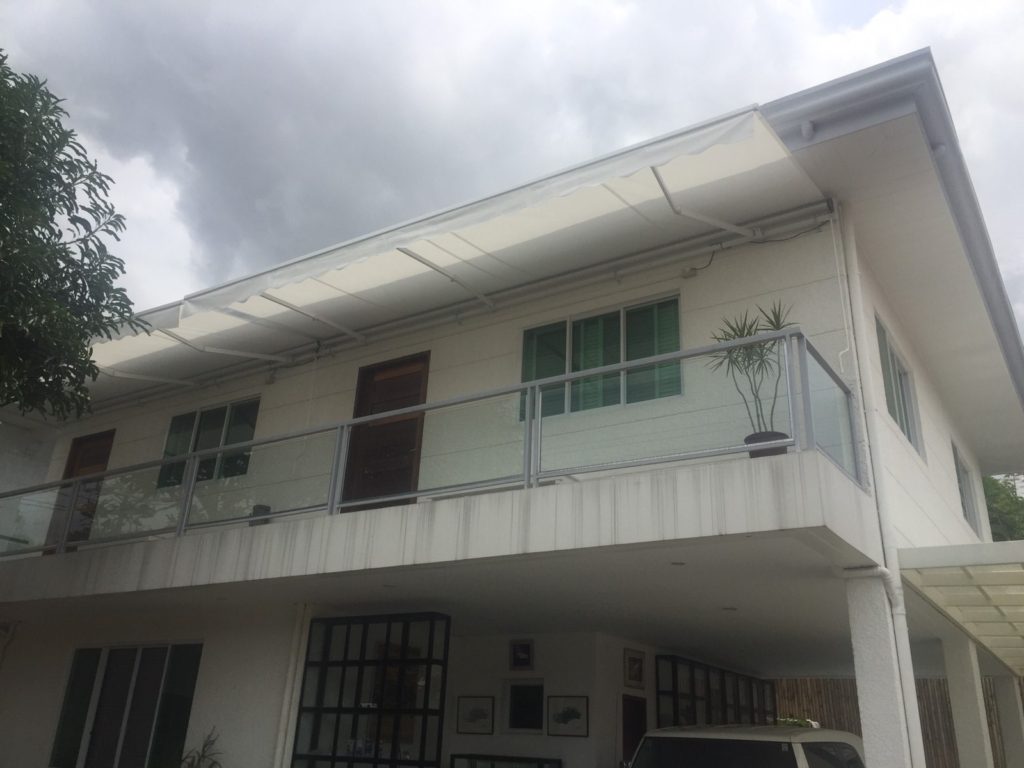
Installing Your Skybass Retractable Awning is easier than you think. Also, it’s a fun and rewarding DIY project. Installation is simple and won’t take that long to accomplish. Soon after receiving your retractable awning from Skybass Indoor and Outdoor Comfort, you can be enjoying the outdoors with more freedom than before. You don’t have to be a master craftsmen to install a Skybass retractable awning. By just following the instructions and taking note of a few precautions and tips, you’ll be able to put up your retractable awning in no time.
By now, you have already chosen the spot you want to install your retractable awning. Getting the proper measurements is crucial if you want to enjoy the benefits of your retractable awning to the fullest. Keep in mind the minimum mounting height is 10-12 feet from the base of the wall and you’ll need 10-12” of room to mount.
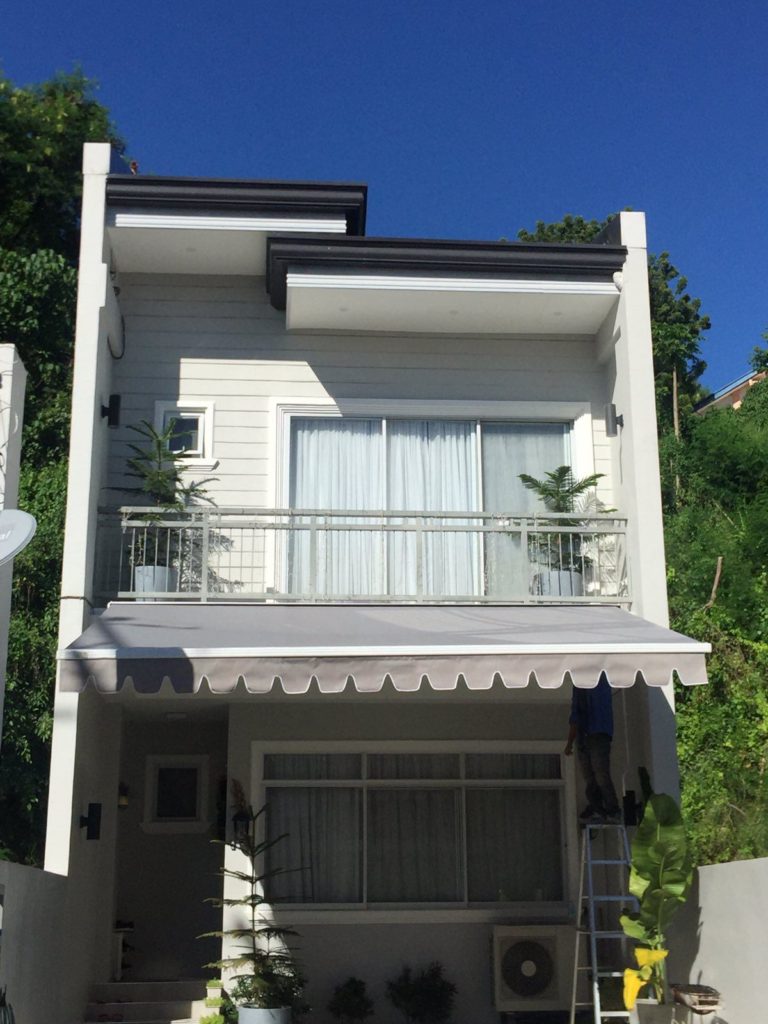
You’ll want to make sure your area is clear and the wall you are installing on has plenty of room above any door frames and below any guttering. Also, you’ll want to make sure not to have any other fixtures (such as outdoor lights) in the way. And lastly, make sure there is an accessible electrical supply.
For more info on how to measure for your Skybass retractable awning, refer back to the previous blog post that explains it in detail.
You can read that blog post here.
Ordering Your Retractable Awning
Skybass makes it simple. We have locations in Manila, Cebu and Davao city. However, we can deliver anywhere in the Philippines that is accessible. Once you have your proper measurements, you can refer to our products page or request a catalog to choose your style of retractable awning. With any questions or concerns, just hop on over to our Facebook Page and send them via chat. We’ll be sure to answer any and all of your inquiries promptly. We make getting your Skybass retractable awning easy and are with you every step of the way.
Remember to choose not only the model, size and style, but have a look at the unique fabric designs. You’ll want a design that will compliment your home or business. But don’t worry. All of our designs will add an aesthetic touch to the outside of your structure.
Receiving Your Retractable Awning
This is the most exciting time. When your package arrives the first thing you’ll want to do is inspect the outside. Look for any damage that may have occurred during shipping. Make sure the box is still sealed and nothing looks like it has affected the integrity of your retractable awning.
Carefully open the box so as not to damage the fabric or any of the other parts. Before you sign for the delivery, make sure everything is included and any missing parts should be noted on the delivery slip before signing. Inspect the internal contents to make sure there is no visible damage and that it is the right dimensions and fabric style you ordered. If it is not, contact Skybass immediately.
What’s In The Box?
Inside you should find the following:
- Your retractable awning
- Screws
- A hand crank
- Wall brackets
- Socket Brackets
- Remote control
- Users manual
Make sure all of these parts are present before beginning your installation project.
What Will You Need?
First and foremost you’ll need a friend. Someone to give you a hand. Installing a Skybass Retractable Awning should not be attempted alone.
You will also need:
- 2 8-10’ ladders
- A 25’ measuring tape
- A pencil or marker
- A chalk line
- Stud finder
- An electric drill (with bits)
- A level
- A socket wrench
Follow This Procedure To Install Your Retractable Awning
Remember safety first for all projects. When you set up your ladders. Make sure they are firm on the ground and there is nothing in the way for you to go up and down. Furthermore, when using the electric drill, always wear adequate eye protection.
Here are some easy steps to installing your awning:
- First, measure and mark where the TOP of your awning brackets will be placed.
- Using the level and chalk line, mark a straight line. This will be the top of your awning.
- Using the stud finder, find the center of the studs along your wall at the ends of your line. If your home is cement, you will need to be able to anchor the bolts into the cement.
- Take your bracket and align the top with your chalk line. Use the level to make sure the sides are straight
- Mark where the bolts will go through the center of the mounting holes.
- Drill your mounting holes.
- Secure the brackets to the wall with the bolts.
- Once the brackets are securely attached to the wall, lift the awning by the torsion bar and CAREFULLY take it up the ladder.
- Slide the torsion bar into the brackets (make sure the brackets are OUTSIDE the outer shoulders of the awning).
- Place the retaining bolts into the brackets and tighten.
- Remove the plastic and carefully cut the arm sleeves.
- Test your retractable awning to make sure it is working properly.
- Invite your friends and family over to enjoy!
Adjust The Angle Of Your Awning
The next step is to adjust the pitch and angle of your awning. To do this all you have to do is extend your awning fully. Then loop the hand crank into the easy pitch loop and adjust. Repeat on the other side until it is level and you have the angle you want.

Installing Your Skybass Retractable Awning Is Done
And that’s it. Your DIY project is done and you still have plenty of day left to relax and enjoy your newly installed retractable awning from Skybass Indoor and Outdoor Comfort.
Remember that Skybass has locations in Manila, Cebu, Davao City and can deliver anywhere accessible. Contact us or check out our Facebook Page now to start your new year off right.